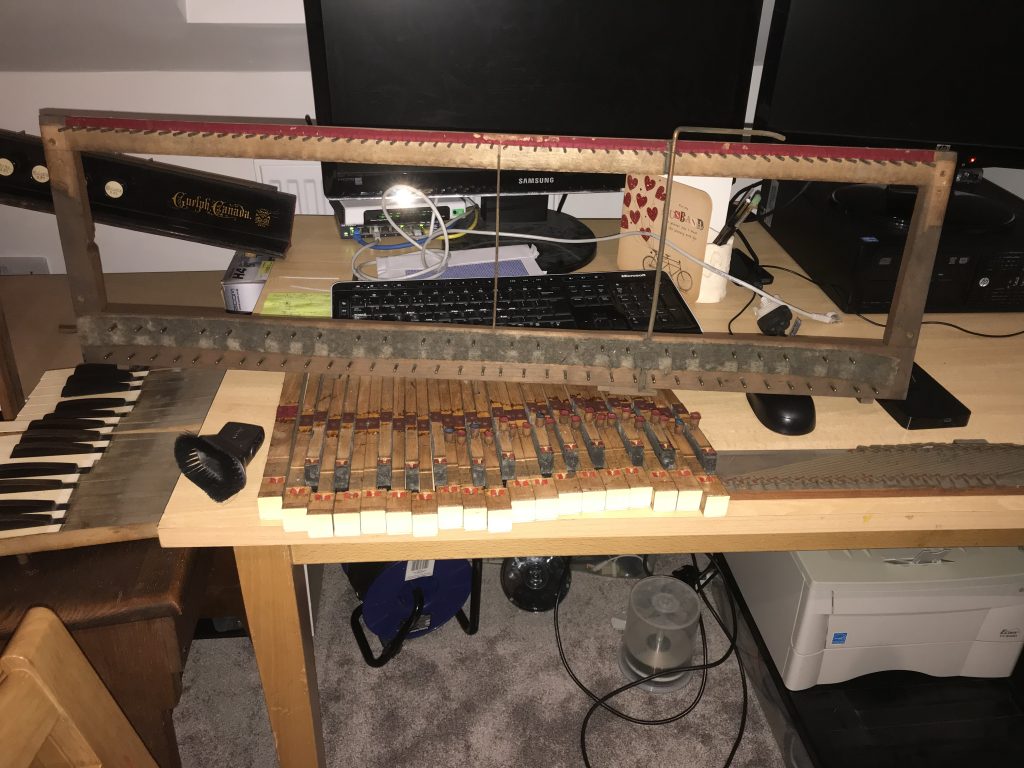
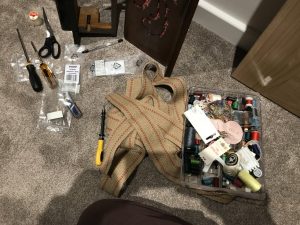
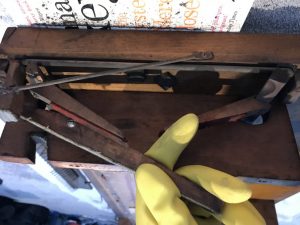
We’ve come a long way from stripping down..

To slowly rebuilding…

and now to putting the case back together…

There’s just one thing left to do…

The story of renovating our Methodist Church Canadian Reed Organ
We’ve come a long way from stripping down..

To slowly rebuilding…

and now to putting the case back together…

There’s just one thing left to do…
The next thing to repair is the stops. These are the pull out ‘buttons’ on the front of the organ that effect the sound produced. These are basically working but the leather undersides have eroded and fallen off.
There are two types, metal (adjustable) and wooden (fixed).
Here’s attaching the leader to a metal stop slide.
Here’s two completed wooden ones. You can see the tiny nails that had to be extracted and then put back. Any old decaying leather has to come off and the pins pried out with a driver.
Here are the completed stop slides. That took a while doing 1 or 2 every so often.
So at last I’ve opted for some help…
Looks like we might need to find a way to limit the rubbing of the wooden pin under the keys against the board. Time for a think, I don’t think this is a job for oils.. maybe graphite (research time!)? Anyway food for thought before I get the new found workforce back on task.
So the next mission is to fix the fabric hinge on the coupler. The coupler allows the player to play two notes while pressing one key. This gives a boarder organ like cord sound. Snag is ours is tearing because the thin fabric that makes up the hinge has seen better days..

Here you can see some of the damage. Although the hinge is not fully ripped off it’s clear it will not be long.

So what do you know with fabric hinges? Not much? Books rely on tough fabric hinges that allow them to open and close without tearing. So its to book binding materials that I’ve gone to find a way to fix my issue.
I used book binding mull and book binding glue.

So here’s one of the patches immediately after applying glue (it should later dry clearer. Really I would like to strip down and create a whole new hinge from one end to the other but the coupler is assembled in a way that would require puling hooked metal pins from the wood without damaging them and then putting them back perfectly afterwards. Discretion is the better part of valor on this occasion!

As you can see not replacing the whole hinge is leading to significant compromise. I hope this holds, I don’t want to be pulling those hooks off!

Time for reassembly, here’s hoping this works. Here’s to the art of book binding 🙂
 Our Harmonium has seized up hinges for its main internal flaps. These flaps are usually changed by the push stops but are so oxidized they are stuck, some open some closed.
First I removed the hinges and attempted to clean the brass. It was really stuck so I used vinegar and salt, then a thorough clean, then an oil based lubricant.

Here you can see the internal flap with its brass hinge. You can also see the next issue: the wire that acts as a spring closing the flap was broken. I bought some wire and bent into shape creating the new spring.
Here’s my now working hinged flap..
There are four flaps like the one shown in the video. One for the front reeds and one for the back reeds of the treble octave and front and back for the Base octave. This allows the player to select which reeds to use for each side of the keyboard.. front, back or both.

Found some suitable webbing at B&Q.

So time to sew the harmonium. This will let me reconnect the pedal that is disconnected with torn webbing. I will also reconnect all the wood pieces that should make up the pedal assembly. B&Q again for the closest screw match.

The finished pedals!
So we have evidence of woodworm on various parts of our harmonium. Apparently it was treated 10 years ago but I’m not convinced some of the holes aren’t fresh.. in short, parts of this thing look like 5mins after my kids depart the table..
roll out the big guns..

Much time later..


Step 2.. Wow now open windows for 6 months to compensate for smell and prevent hallucinations!